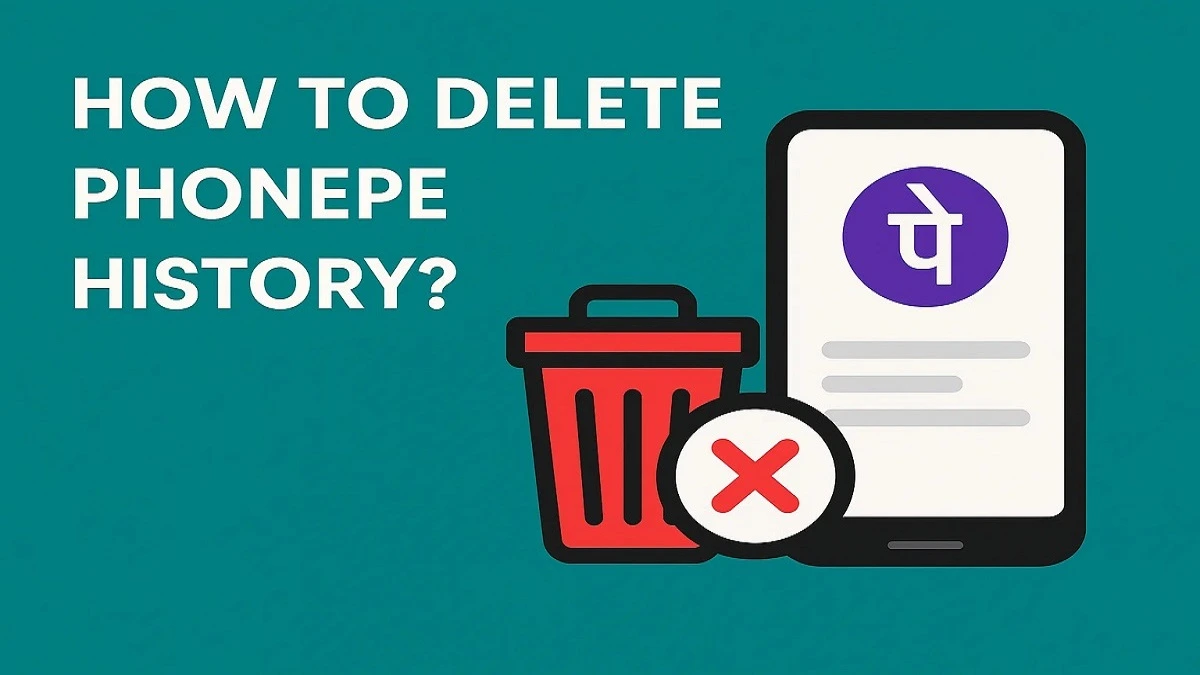
PhonePe is among India’s favorite UPI-based mobile payment apps. As easy and handy as it is, many users wonder how they can erase their PhonePe transaction history for privacy or personal reasons. In this article, we walk you through what you should know about clearing your PhonePe history in 2025, from the latest app updates and privacy policies.
Can You Delete Transaction History on PhonePe?
As of now, in 2025, PhonePe does not support users deleting their transaction history permanently because of RBI regulations and data integrity. The transaction history is stored securely and is used for audit purposes, resolving disputes, and financial compliance.
However, you can hide or archive the conversation and chat history with a contact.
What You Can Do Instead?

While you can’t delete transaction records altogether, you can limit or hide some information. Here’s what you can do:
1. Clear or Hide Chat History with a Contact
If you’ve made a payment via the chat option in PhonePe:
- Open the PhonePe app.
- Press on the ‘History’ tab.
- Choose the contact or transaction that you want to deal with.
- Press on the three-dot menu (⋮) in the top-right corner.
- Select ‘Delete Conversation’ or ‘Clear Chat’ (if supported).
Tip: This will only remove the chat interface, and not the real transaction from your record.
Why can’t you delete the PhonePe Transaction History?

PhonePe, being a part of other UPI apps in India, follows to RBI (Reserve Bank of India) and NPCI (National Payments Corporation of India) policies. All transactions are recorded and kept safe for a minimum duration of years.
Here are some reasons why deletion is prohibited:
- Audit & Compliance: For legal and tax-related audits.
- Fraud Prevention: Historical information prevents fraudulent schemes.
- User Protection: For disputes or aborted transactions.
Alternative: Conceal Transaction Information from Main Screen
Although you can’t delete the data, you can minimize visibility:
- Go to the History tab.
- Choose a transaction.
- Tap the menu icon (⋮).
- Tap ‘Help’, and select ‘Report an Issue’ if the transaction was accidental.
- You can ask for support, but it won’t lead to deletion—just help.
How to Make Your PhonePe Account Private?
Although deletion is not possible, privacy can be increased by:
Enable App Lock
- PhonePe > Settings > Security.
- Turn on Screen Lock or App Lock.
Turn Off Notifications
- Settings > Notifications > PhonePe (in your phone).
- Turn off transaction pop-ups in order to maintain history secretly.
Get Support from PhonePe (If Required)
In case you have a particular issue, reach out to customer care:
- Launch the PhonePe app.
- Navigate to Help from the bottom menu.
- Choose your transaction > Tap Need Help? > Chat or Email support.
They won’t remove the transaction, but can assist you with privacy settings.
Summary: What You Should Know
| Feature | Available | Notes |
| Delete PhonePe History | ❌ | Not Allowed |
| Hide Chat Conversation | ✅ | Only hides, doesn’t delete transactions |
| Hide from Screen | 🚫 | No direct feature, only workaround |
| Contact Support for Privacy | ✅ | Can assist but not delete |
Final Thoughts:
Though you cannot delete PhonePe history permanently, you can control your privacy options, chat history, and notifications to create a cleaner experience. Knowing this limitation is essential, particularly when using financial apps with strict compliance regulations.
FAQs:
Ans: No, most mobile payment apps, such as PhonePe, Paytm, and Google Pay, do not offer an option to remove a single transaction from your account. However, you can hide transaction details in some apps or clear app data, but the records are on the provider server.
Ans: Yes, your bank will know about your PhonePe transactions since they are made from your linked bank account. All transactions, whether a payment, transfer, or bill payment, are reflected in your bank statement with respective details.
Ans: According to regulatory guidelines, PhonePe stores transactions for seven years. Users can also see their transaction history on the app, although older history is stored.
Ans: If you uninstall and reinstall the application, it will delete all the information stored on your device, including settings and cache. On reinstall, you may have to log in again, and cloud-synced data will be synced back in, but unsaved local data is lost.
Ans: To set up your primary account in PhonePe, launch the app and navigate to the “Bank Accounts” option in Settings. Select the bank account you wish to set as your primary one and tap on “Set as Primary”. This will set it as your default account for transactions. Ensure the new primary account has an active UPI ID associated.
BeSureTechno brings you the latest in technology, gadgets, gaming, and how-to guides. Stay ahead with easy tips, reviews, and updates. Explore tech with us.